Ways To Reduce Hip Pain At The Gym

In this second blog of our 2-part series, we look at ways to reduce hip pain at the gym, whether you develop pain or other symptoms immediately or over the 24 hours after a workout. The first blog of this series answered the question “Which gym exercises should I avoid for hip pain?”  This blog helped you understand why certain exercise might aggravate your hip pain.

What can you do to reduce hip pain at the gym?

Many people ask professionals about the exercises they should avoid to reduce hip pain at the gym.  In most circumstances you won’t need to completely avoid an exercise, but you might need to swap equipment or change your technique to keep your hips happy. In this blog we will look at several key gym exercises for the lower body and ways to reduce hip pain at the gym by modifying these exercises.  Remember this is meant as a guide only – for more assistance make sure you contact a Hip Pain Professional (click here).

The exercises we will pay particular attention to in this blog are:

  1. The Leg Press
  2. The Deadlift
  3. The Rear Foot Elevated Split Squat of Bulgarian Split Squat
  4. Static Exercise Bike or Stationary Bike
  5. Treadmill Running and Walking
  6. Reducing hip pain at the gym during or after stretching

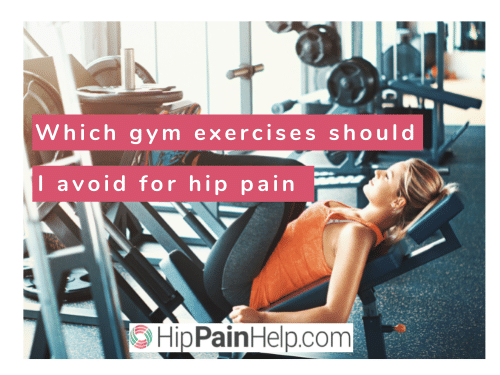
1. Reducing hip pain at the gym during or after leg press

To read more about why Leg Press might be irritating your hips, return to our last blog (click here).

To reduce hip pain related to Leg Press, the first important consideration is equipment. If you are using an incline leg press – where you push your feet up towards the ceiling on a 45degree angle, its simplest to find a different machine. In most cases it is not possible to modify the hip loads enough to avoid pain aggravation. Instead on the include leg press, move to a supine or adjustable seated leg press.

Here are some other ways you can reduce hip pain related to leg press:

  • if using seated leg press – alter the seatback or plate position to reduce the range of hip flexion (bend)  – try to reduce how close your knees come to your chest
  • alter foot positioning on the plate
    • reduce the height of your feet on the plate – bring your feet further down the plate. However, be careful. Although this helps the hips by reducing the bend at the hip, it does mean you’ll need to bend more at the ankles and may potentially alter the forces across the both the ankles and knees. Aim for comfort at all joints.
    • place the feet slightly wider and more turned out – the hips will follow the feet and having the thighs and knees   a little further apart and turned out  can be a less irritating position for the hip joint.
  • use lower weights
  • reduce repetitions (don’t do as many reps)
  • perform the exercise less frequently (do this exercise less times per week)
  • slow down, particularly into the deep flexion (knees towards chest) position.

If you have made these changes and you are still experiencing pain during or after leg press, swap to a different exercise e.g., a hacksquat, Smiths machine, or a free barbell squat with limitations on how deep you squat. Start at a 90degree maximum bend at the the hip and see how that goes. You may then be able to go a little deeper depending on your hip shape and technique.

If you are unsure about the leg press and if you need help to alter this gym exercise to reduce hip pain, seek help from one of our  Hip Pain Professionals.  They will help you understand more about your condition and the modifications you might need to make in the short and/or long term.

2. Reducing hip or pelvic pain at the gym during or after deadlifting

The main principles around ways to modify gym exercises to reduce hip pain are to minimise the extremes of ranges, particularly in the deadlift. Hip, pelvic and back overload can occur both in the fully bent over position and at the top of the lift. You might like to return to our previous blog to find out why, if you haven’t already read our first blog in this series.

Here are some tips for avoiding excessive forces on areas you are trying to protect, and potentially utilising the whole body more – sharing the load more effectively:

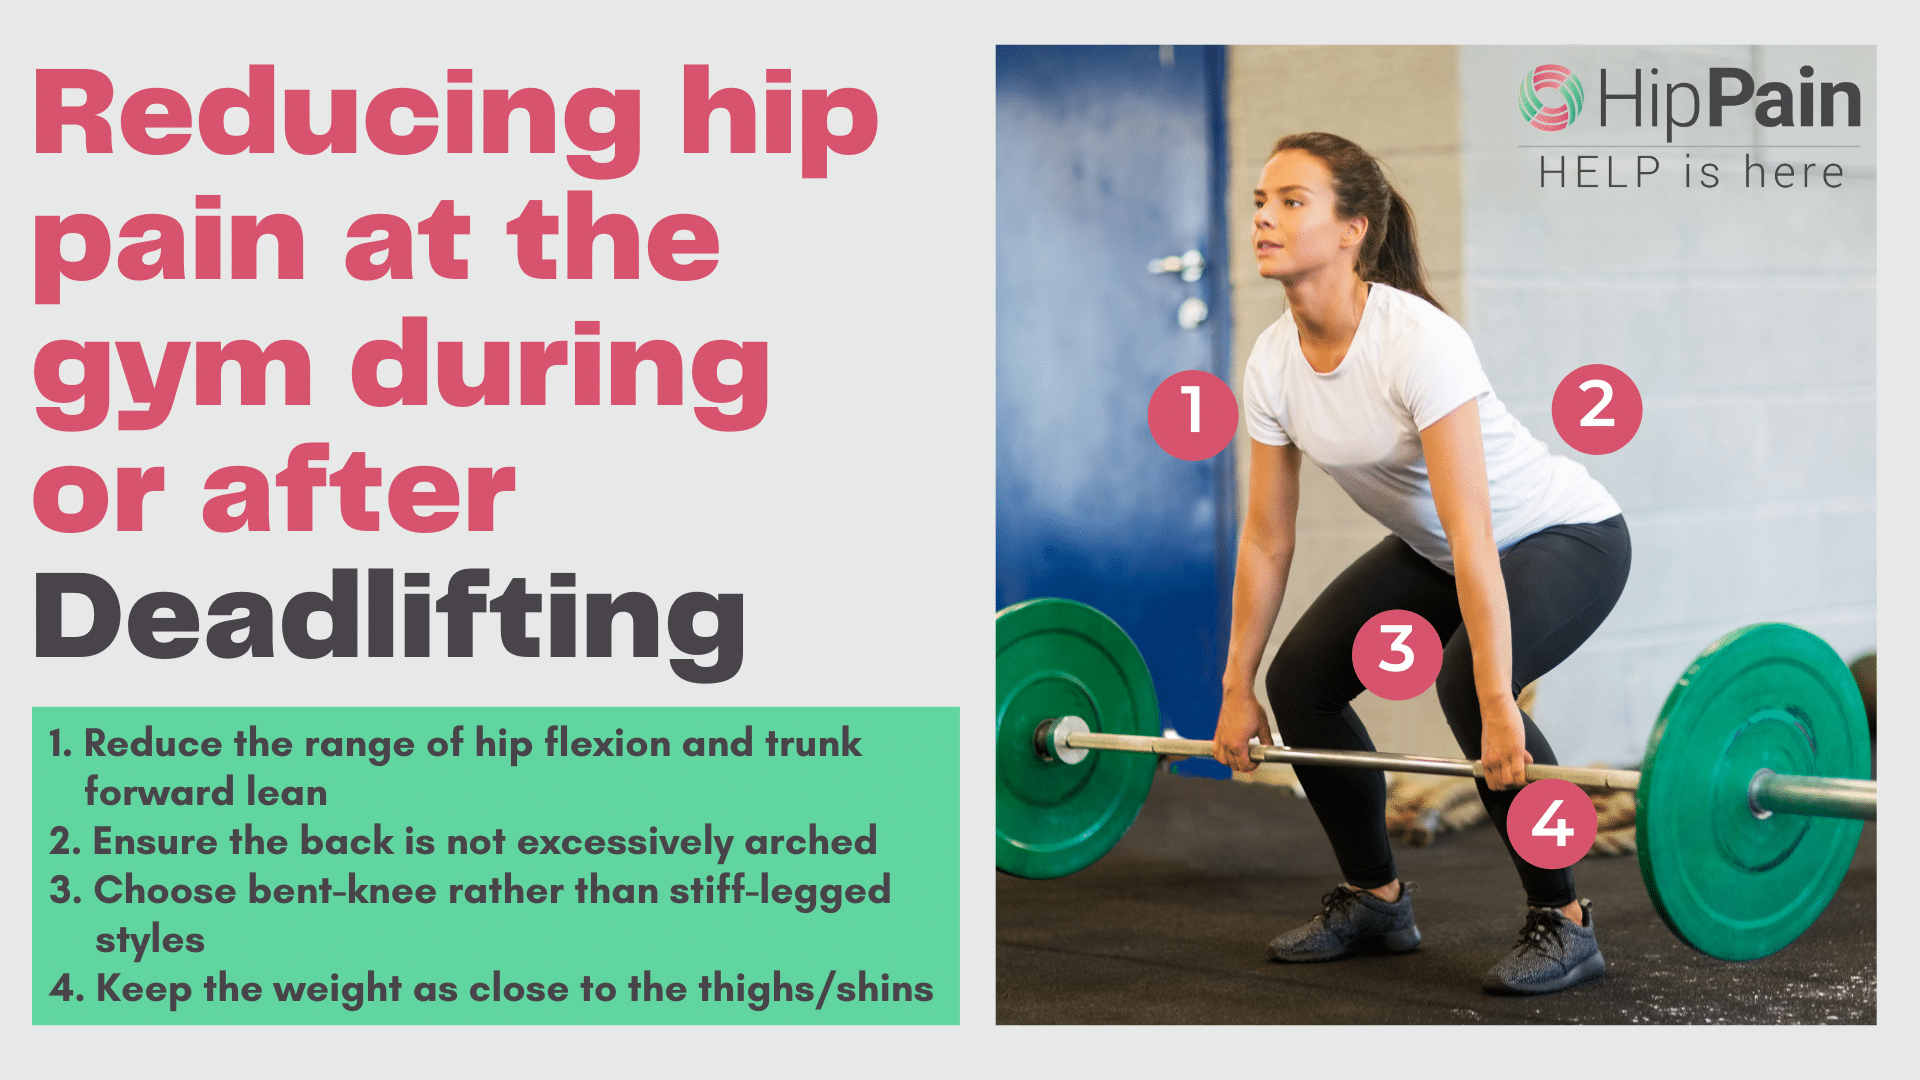
  • Reduce the range of hip flexion and trunk forward lean – lift from a rack rather than the floor
  • Ensure the back is not excessively arched (known as lumbar lordosis and usually accompanied by excessive anterior pelvic tilt – pelvis tipping forward)
  • Choose bent-knee rather than stiff-legged styles. This means you will be using more knee bend and less hip bend, sharing the load a little more across the lower body
  • Keep the weight you are lifting as close to the thighs/shins as possible
  • Stop the “hip extension thrust” as you fully straighten. When you return to standing, grow tall and lengthen your body toward the ceiling but don’t thrust the hips forward. This is not the best position for loading your glutes and this thrust can really aggravate the front of your hips and/or the lower back. Making this one adjustment can often be a game changer!
  • Reduce weight and volume of training – you may be  just doing too much, too often, or increase reps or load too quickly. Give your body time to adjust.

If you are still having difficulty with deadlifting, try changing equipment and using a hex bar that allows you to carry the load further back, or return to doing squatting for a while. For isolated hamstring strengthening, you can also do prone (lying on your tummy) hamstring curls.

3. Reducing hip pain at the gym during or after the Rear Foot Elevated Split Squat or Bulgarian Split Squat

The Rear Foot Elevated Split Squat or Bulgarian Split Squat is a challenging exercise and usually requires a higher level of strength and control of body position to perform well, particularly to do a deeper squat. Here are some tips for reducing hip pain during or after this exercise:

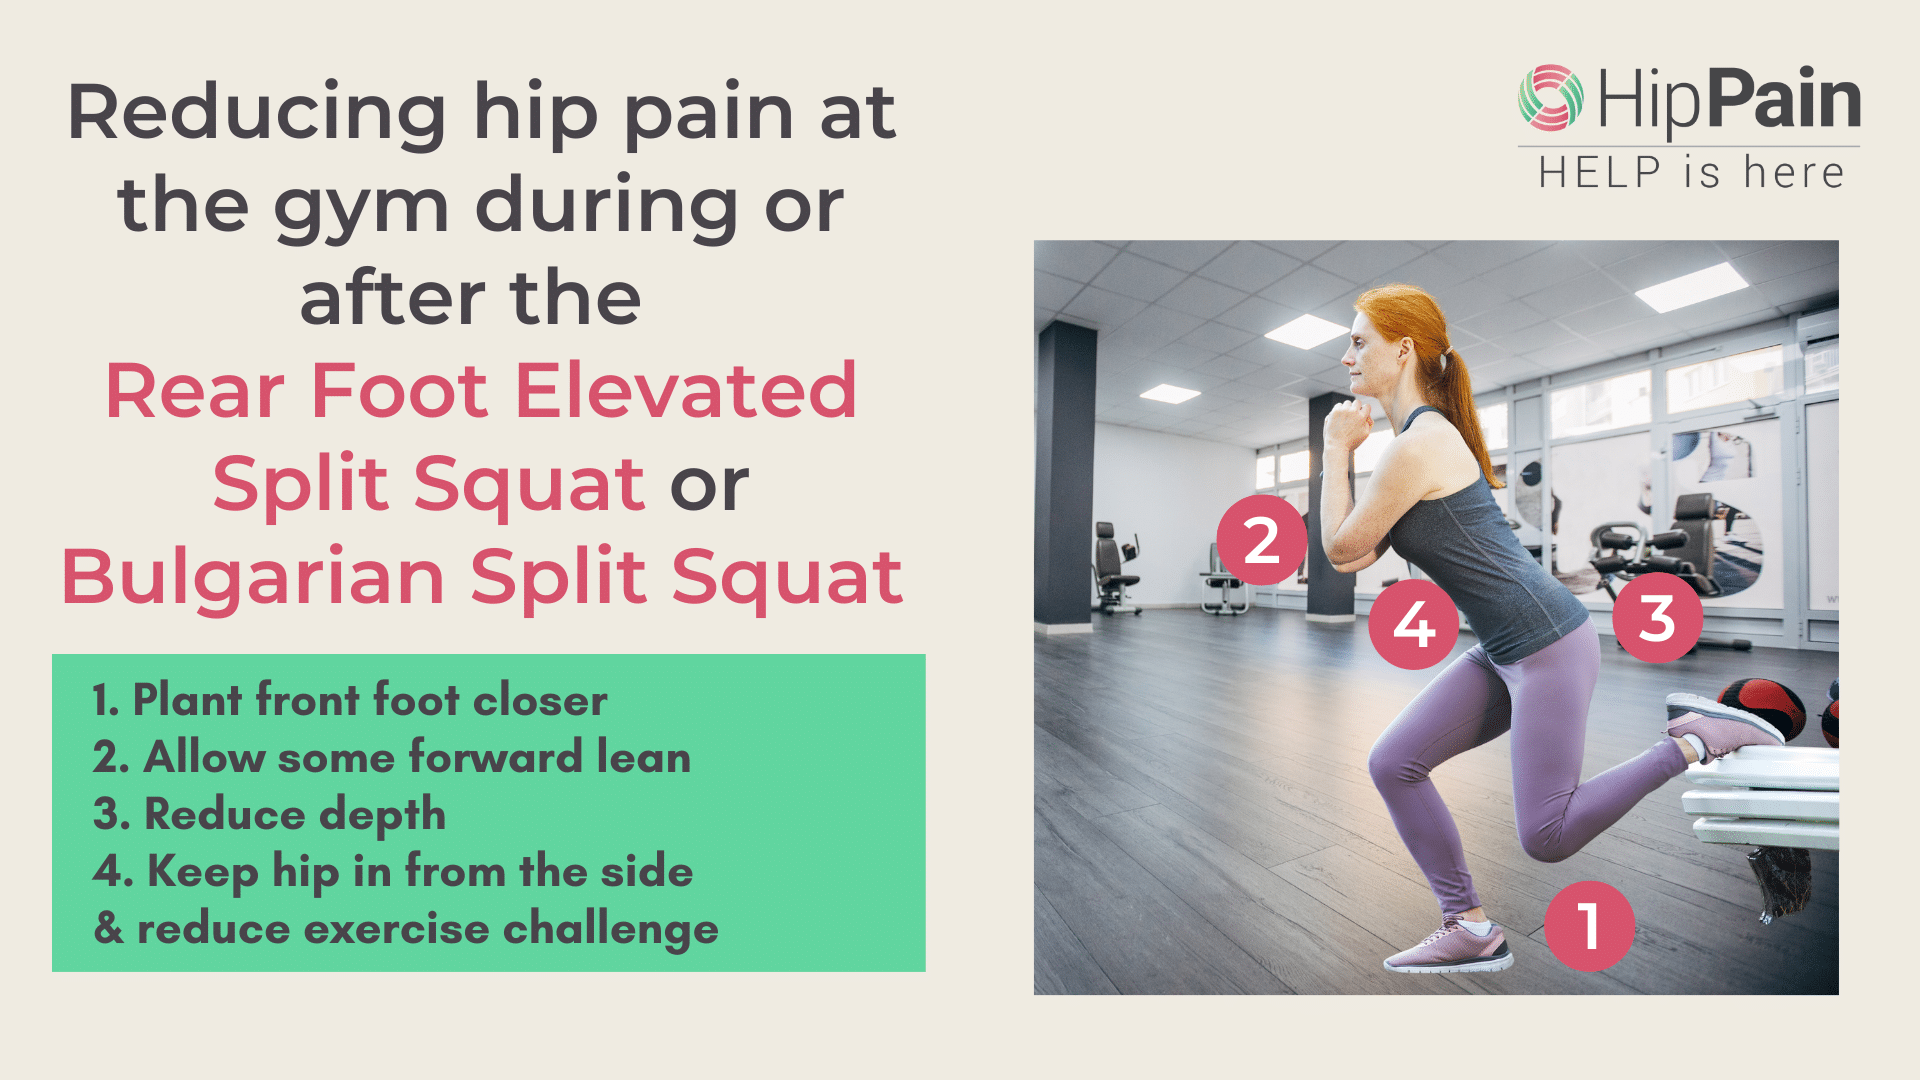
  • Reduce depth – don’t go so deep on your split squat. It’s easier to keep good form in a shallower split squat – your muscles and tendons don’t have to work as hard and the hip and pelvic joints are not as challenged.
  • Keep your hip tucked in on the front leg in- letting this hip stick out to the side too much can cause irritation of hip, groin, pelvic and low back pain. Try to keep your pelvis square to the front.
  • Reduce the challenge of the exercise
    • use body weight only,
    • reduce reps and sets,
    • try doing the exercise in a Smiths machine where more support can be provided.
  • Keep your feet a little closer together – don’t have the front foot so far forward.

If you have tried these adjustments to the split squat and you are still experiencing aggravation of your hip and pelvic pain, you might need to step back to a less challenging exercise such as an “offset squat.” You may benefit from having a professional assess and adjust your technique or provide guidance on the best alternative exercise for you.

Search our “Find a Professional” directory (click here) to find someone near you, or someone you can talk with over video consult.

4. Reducing hip pain at the gym during or after stationary cycling

As we discussed in the previous blog (click here to read more), make sure decide on the correct bike to use –  reclined versus upright.

Here are some key things to consider:

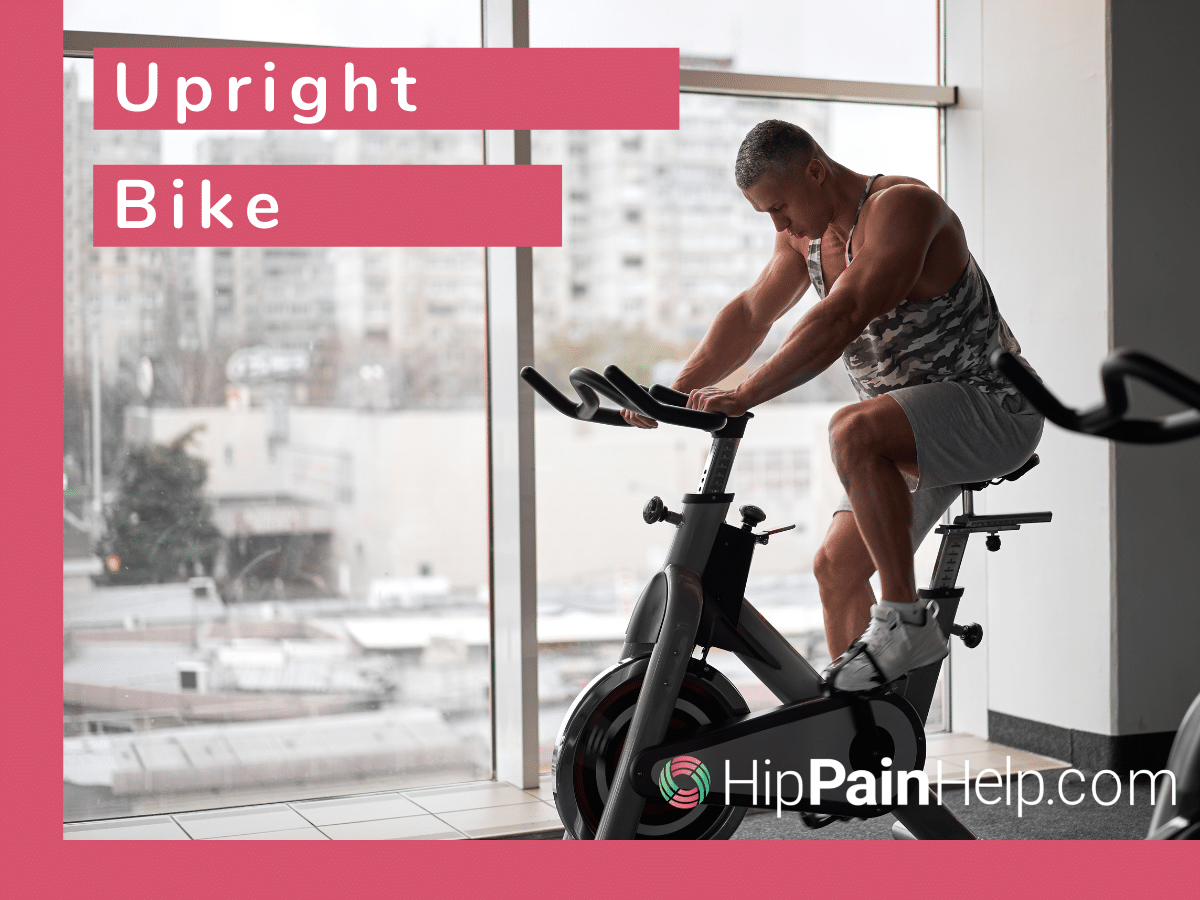
  • Reduce range of hip bend (how close the knees come to the chest).You can change this by lifting the seat and/or the handle bars. You are trying to achieve a more upright rather than bent over position, thus opening up the hips at the front, and also reducing the stretch around the back of the hips
  • Don’t overextend the leg – the knee should be slightly bent at the bottom of the stroke, the point when the leg is at its most straight
  • Ensure the seat is right – the seat may need to be softer, wider or narrower so as to reduce pressure on your specific painful areas. This is especially relevant for pain in the buttock and saddle regions.

If your pain is really aggravated by exercising in sitting, you might be better off doing your cardio in upright – a cross-trainer is often a good option to try. But remember, always start off slowly with anything new you start – test a short period or 5-10 minutes or a new cardio exercise and then gradually build up if your pain is coping well.

5. Reducing hip pain at the gym during or after treadmill walking or running

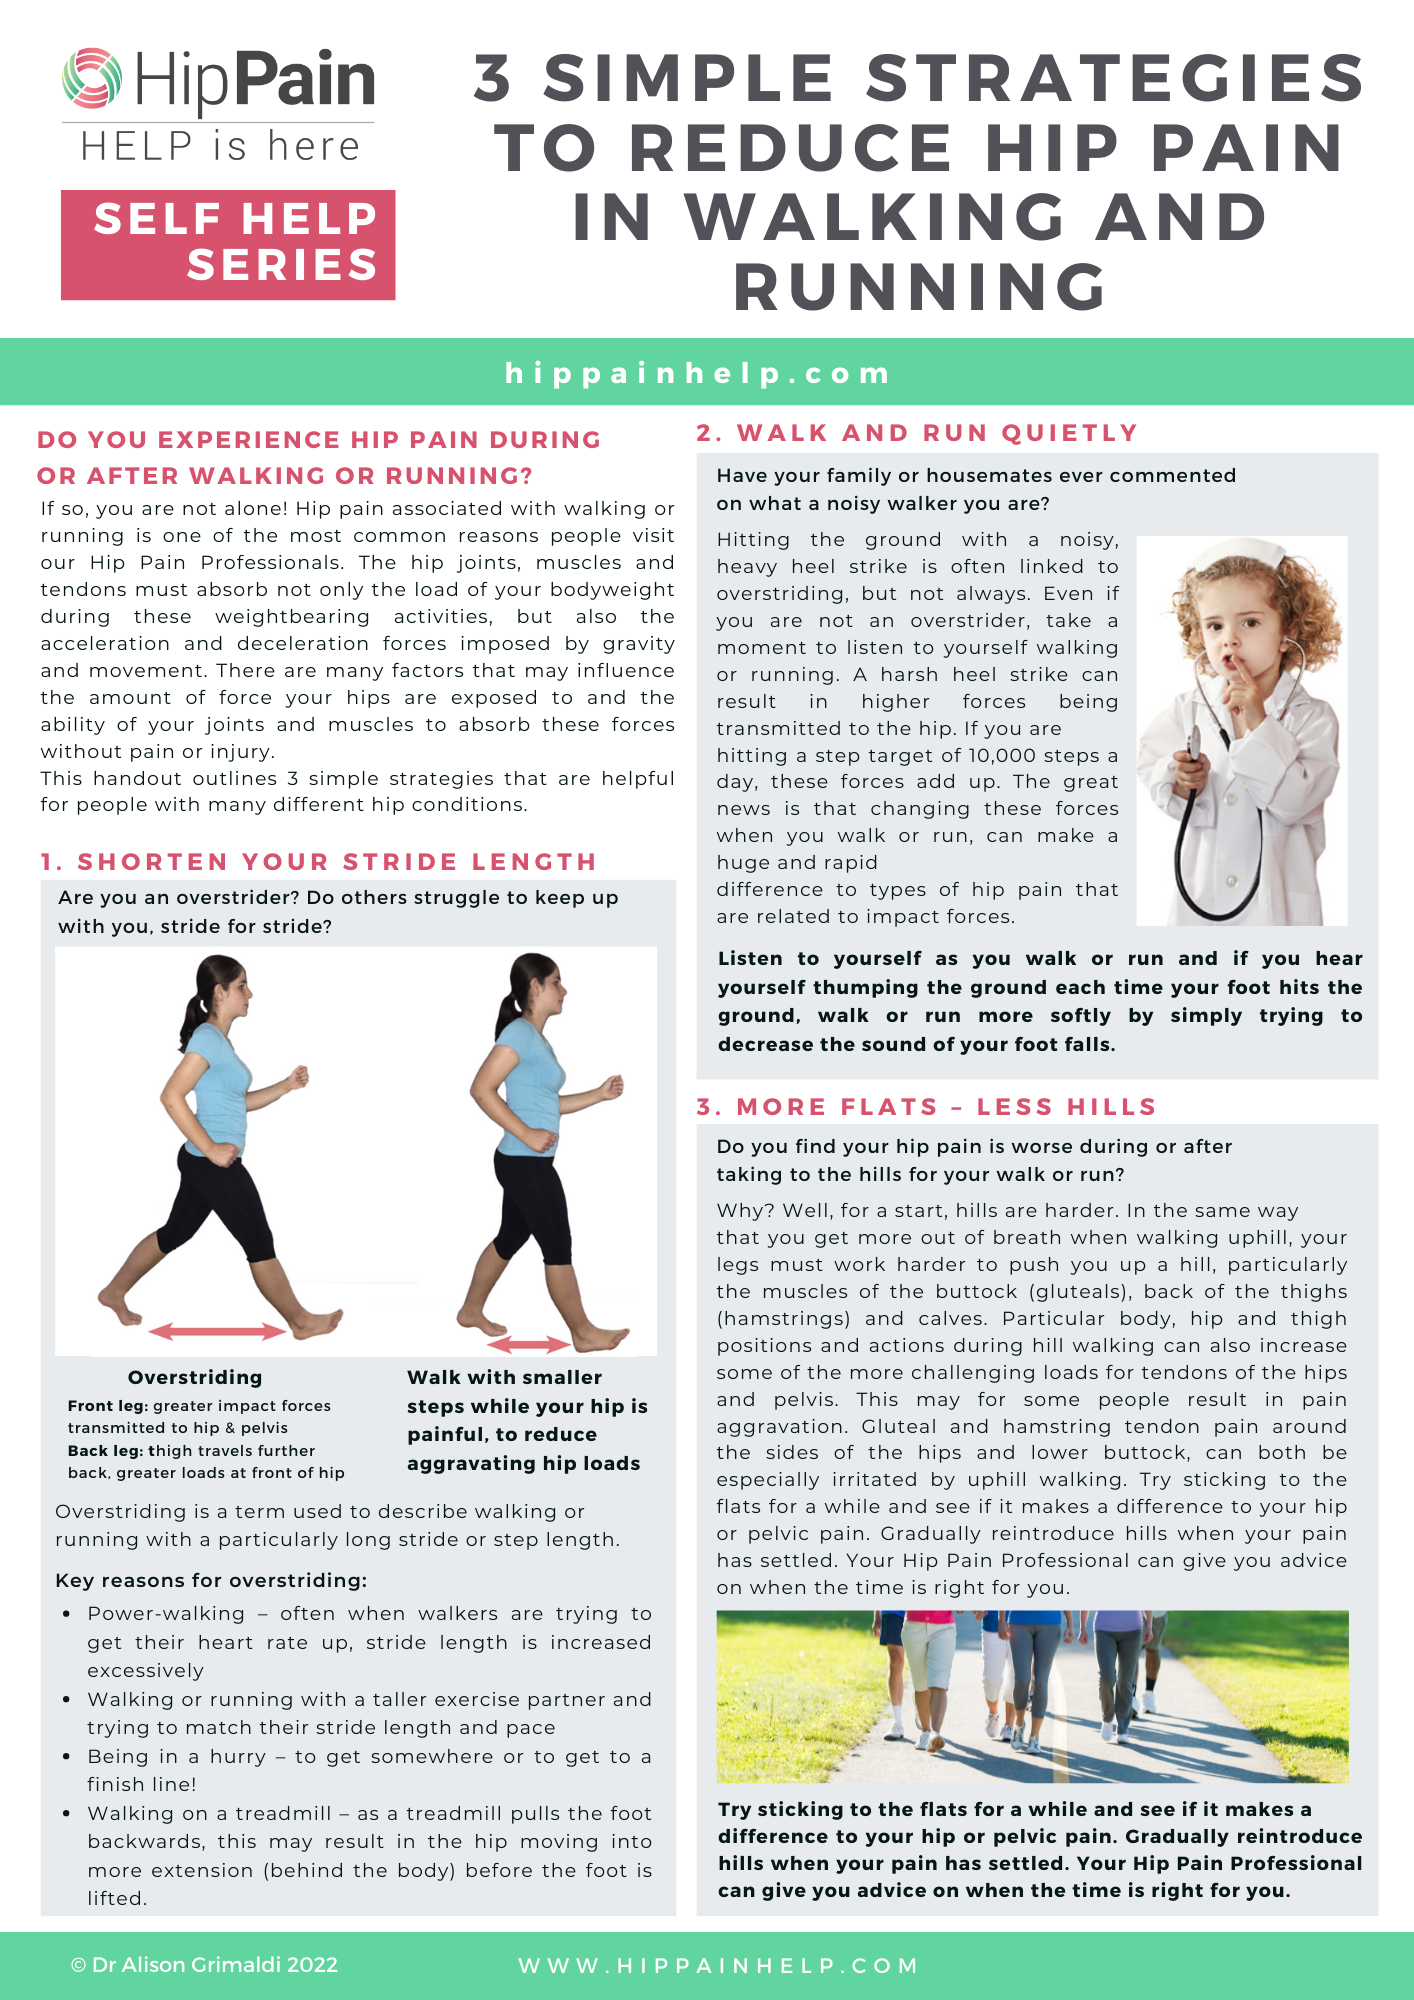
We have already covered this topic in a previous blog, so head to this blog for further information –  “3 Simple Strategies to Reduce Hip Pain with Walking and Running” ( click here to read more). This is full of helpful tips on this topic.

6. Reducing hip pain at the gym during or after stretching

Should you stretch after or before doing your gym workout?

And which stretches should you modify for your hip, groin, buttock or pelvic pain?

This is another frequently asked question – we cover this in a lot of detail in this great blog “Can stretching Make Hip Pain Worse?” – click here to read more.

So what are the ways to reduce hip pain at the gym

In answer to the question “What are the ways to reduce hip pain at the gym?” (felt during or after), we hope this blog has helped.

This is a very general guide only and with any uncertainties or if pain persists then make sure you get the help of a Hip Pain Professional (click here), someone that knows hips.

And don’t forget, don’t stop.

Motion is Lotion! Exercise is Essential!

But some simple modifications can help you get the most out of your workout without aggravating your hip pain.   Have a great workout!

Search For A Hip Pain Professional Here.

Check Out More You Can Read on Self Help Ideas at HipPainHelp:


  1. Which gym exercises should I avoid for hip pain? Take an in depth look at some key lower limb gym exercises, which conditions may become irritated by the exercise and why.
  2. Can stretching Make Hip Pain Worse?In this blog we will provide you with a summary of the areas and types of hip pain that may be made worse by stretching. Understand which hip stretches
  3. Top Tips for Hip Pain Relief Sitting, when Socialising or Travelling Learn ideas for how you might reduce your pain when sitting, a position you need for doing so much in life.
  4. Top Tips on Hip Pain Relief Sleeping – Learn HowSleep is essential for wellbeing. Yet hip and pelvic pain can leave you struggling to find a comfortable position – we will help you with a few simple ideas.
  5. I have hip pain – What is the best activity for hip pain or is rest best? In this blog we will discuss how much you are doing of something and is that too much or too little!
  6. 3 Simple Strategies to Reduce Hip Pain with Walking and Running In this blog we share 3 simple strategies to reduce pain when running or walking that we find helpful for people with many different hip conditions

Authors

This blog was written by Dr Alison Grimaldi and Kirsty McNab, physiotherapists who have over 50 years of combined professional clinical experience, dealing with patients suffering from a wide range of hip and pelvic conditions.

Dr. Alison Grimaldi BPhty, MPhty(Sports), PhD is Practice Principal of Physiotec Physiotherapy, an Australian Sports Physiotherapist and Adjunct Senior Research Fellow at the University of Queensland, author and global educator.

Kirsty McNab BSc Hons, MPhty(Sports), is Practice Principal of Physiologix and a highly experienced Sports and Exercise Physiotherapist having worked extensively with elite athletes, the Olympic Winter Institute of Australia, and Tennis Australia.

Recovering-from-Piriformis-Syndrome-Deep-Gluteal-Syndrome-or-Hip-Related-Sciatica

Sign Up To Our Mailing List!

For condition information you can trust, powerful self-help tips, myths, must-do's, don't do's and other helpful updates!

News Letter Page

Hidden

Next Steps: Sync an Email Add-On

To get the most out of your form, we suggest that you sync this form with an email add-on. To learn more about your email add-on options, visit the following page (https://www.gravityforms.com/the-8-best-email-plugins-for-wordpress-in-2020/). Important: Delete this tip before you publish the form.
Name(Required)
Are you a Health Professional? : tick box if YES