How to Use a Walking Stick & Why

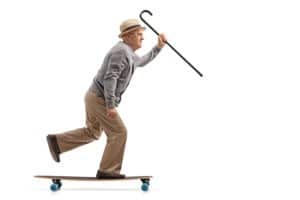
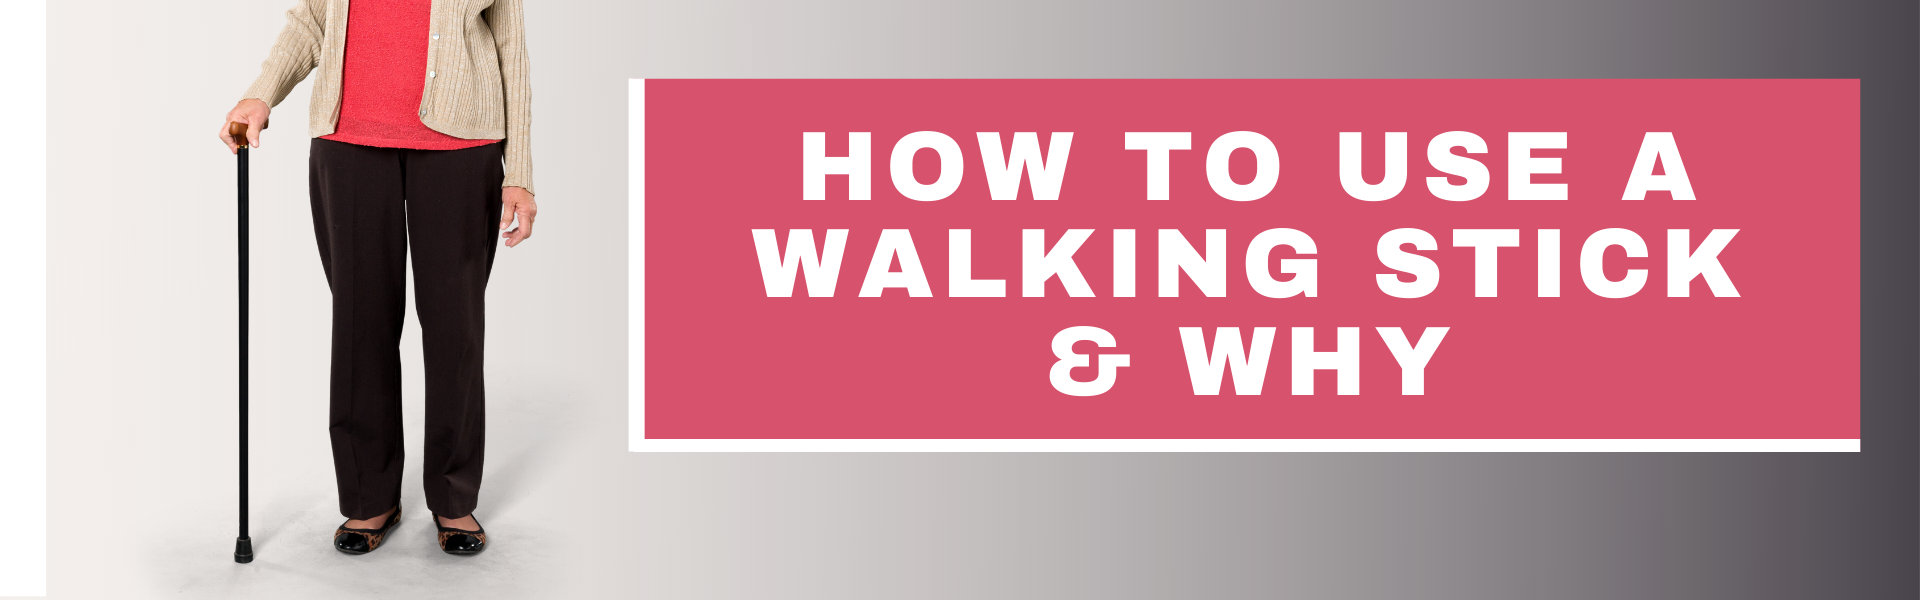
Got a limp? You should know how to use a walking stick 

Symptoms felt around your hip and pelvis may lead to changes in the way you move.  For many, this involves the development of a “limp”, often in response to pain, or due to stiffness or restricted movement.  The result of a limp is that you place altered forces on the affected area as well as on other parts of the body, including on joints and muscles. For example, forces may change arouond your back, other hip or knees.  

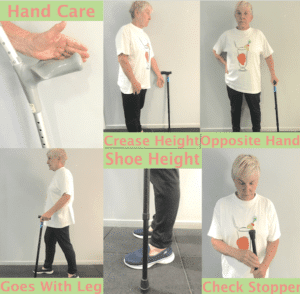
To minimise pain and avoid unintended negative effects of a “limp”, knowing how to use a walking stick (or walking aid) may be of benefit¹.  Using a walking stick temporarily allows you to move with more “natural” patterns, placing less unusual stress and strain on the body. Often as symptoms improve with the use of the walking stick, you are able to do more and walk further. 

Many people are concerned at the prospect of using a walking stick, fearing it will make them look and feel old. Remember a walking aid is often just a short term strategy that can help you continue your normal daily tasks. It provides a window of opportunity to allow you to work on settling your pain and completing your rehabilitation. 

And you don’t have to use a walking stick: you could also use a crutch or nordic walking poles.  You can read more about the pain relief and other benefits with nordic pole walking by clicking here.

Alternatively if a stick is not enough support, there are alternative various wheeled frames.  

Just remember walking poorly affects the opposite leg, as well as your back and other nearby joints such as your knee.  An aid (walking stick, crutch, Nordic poles) really is great to use until you can address your walking pattern with your Hip Pain Professional. 

The focus of this blog is how to use a walking stick (or walking aid) correctly.

Key Points for Using a Walking Stick

1. Your walking stick always goes in the hand on the opposite side to the painful hip…..this is something so many people get wrong.

2.  Standing with your arm by your side, the top of the handle of the walking stick should come to the same level as the crease of your wrist. (pic)

3.  Ensure you measure the stick height with your normal shoes on……shoe height can make quite a difference.

4.  Check the rubber stopper at the bottom of the stick is new, with clear round anti-slip rings easily viewed

5.  You can purchase an aid with a shaped handle for people who struggle with wrist or hand issues, for example rheumatoid arthritis.  It is important that you don’t cause an injury in the arm you are using the stick in.

6.  When you walk the opposite arm swings forward to put the stick down as the affected leg swings forward to hit the ground, that is, opposite arm and leg swing forward and back together. 

Knowing how to use a walking stick can be beneficial in so many ways.  Make sure you discuss this option with your Hip Pain Professional.  They are able to run through the above check list should you have any uncertainties. 

  • help assess if you would benefit from using a walking stick
  • ensure that you know how to use a walking stick correctly
  • ensure the walking stick is the correct height for you
  • guide you as to what other walking aids you could use. You may prefer nordic walking poles for hiking.  Or you may need a more safe and secure walking aid than a walking stick.
  • assess what changes are needed for the walking aid should you have other problems such as hand, wrist or finger pain, or maybe problems with your shoulders

References 

  1. Hochberg MC, Altman RD, April KT, et al. American College of Rheumatology. American College of Rheumatology 2012 recommendations for the use of nonpharmacologic and pharmacologic therapies in osteoarthritis of the hand, hip, and knee. Arthritis Care Res (Hoboken) 2012 Apr;64(4):465–74. DOI: https://doi.org/10.1002/acr.21596. [PubMed[]


Authors

This blog was written by Dr Alison Grimaldi and Kirsty McNab, physiotherapists who have over 50 years of combined professional clinical experience, dealing with patients suffering from a wide range of hip and pelvic conditions.

Dr. Alison Grimaldi BPhty, MPhty(Sports), PhD is Practice Principal of Physiotec Physiotherapy, an Australian Sports Physiotherapist and Adjunct Senior Research Fellow at the University of Queensland, author and global educator.

Kirsty McNab BSc Hons, MPhty(Sports), is Practice Principal of Physiologix and a highly experienced Sports and Exercise Physiotherapist having worked extensively with elite athletes, the Olympic Winter Institute of Australia, and Tennis Australia.

Don’t miss our next blog……

Next week we look at the soft tissues for the hip and pelvis – these structures include the muscles, tendons, bursa and fascia. Learn what these structures are and how they may bee involved with pain in the area.  Check out next week to find out more!

Or sign up to our newsletter below and receive lots of great info directly to your inbox.

Recovering-from-Piriformis-Syndrome-Deep-Gluteal-Syndrome-or-Hip-Related-Sciatica

Sign Up To Our Mailing List!

For condition information you can trust, powerful self-help tips, myths, must-do's, don't do's and other helpful updates!

News Letter Page

Hidden

Next Steps: Sync an Email Add-On

To get the most out of your form, we suggest that you sync this form with an email add-on. To learn more about your email add-on options, visit the following page (https://www.gravityforms.com/the-8-best-email-plugins-for-wordpress-in-2020/). Important: Delete this tip before you publish the form.
Name(Required)
Are you a Health Professional? : tick box if YES