Best activity for hip pain
Over the last few weeks we have looked at what pain actually is, and examined the hip joint, its anatomy and what can go wrong with it.
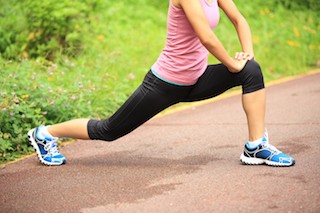
When looking at what is the best activity for your hip often just altering what you already do can be very effective. We have looked at some simple ways you can change how you do things (such as walking and running) to reduce your hip pain. In this blog we will discuss how much you are doing of something and is that too much or too little!
What can I do for my hip pain? Is rest best?

Two common responses to musculoskeletal pain or injury are to either stop doing everything in fear of further injury, or to ignore the pain until it completely stops you in your tracks.
Sometimes a short period of rest is required, but the ‘use it or lose it’ phenomenon is unavoidable. Rest for too long and you will quickly start to lose fitness, strength and capacity to do your normal activities. At the other extreme, completely ignoring your body’s warning signs may lead to a worsening of the situation.
Most of the time, the answer is somewhere in-between, not stopping but listening and modifying activity levels.
1. Think of all the physical activities you do in your daily life:
- at work,
- in the home,
- in the garden,
- in the gym or
- in your sport or recreation
2. Is your hip or pelvic pain worse with activity either :
- during or
- after any of these activities?
Be aware, “after” may well be later in the day or even the next day, not necessarily immediately after.
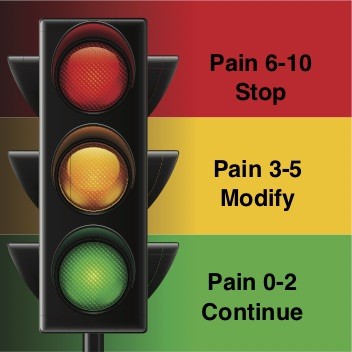
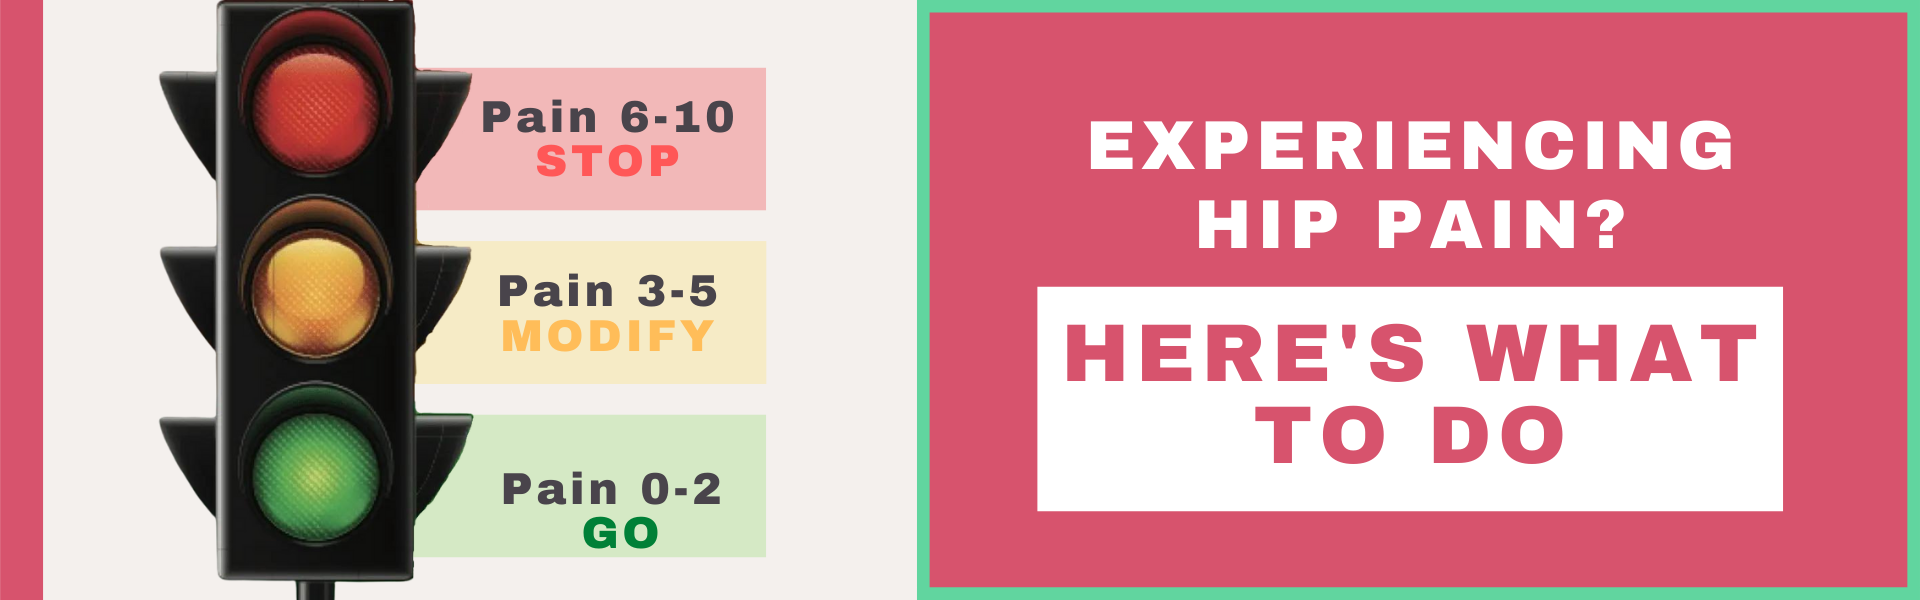
3. The Traffic Light Approach: A Hip Pain Guide to How Much Activity is Okay for your Hip Pain
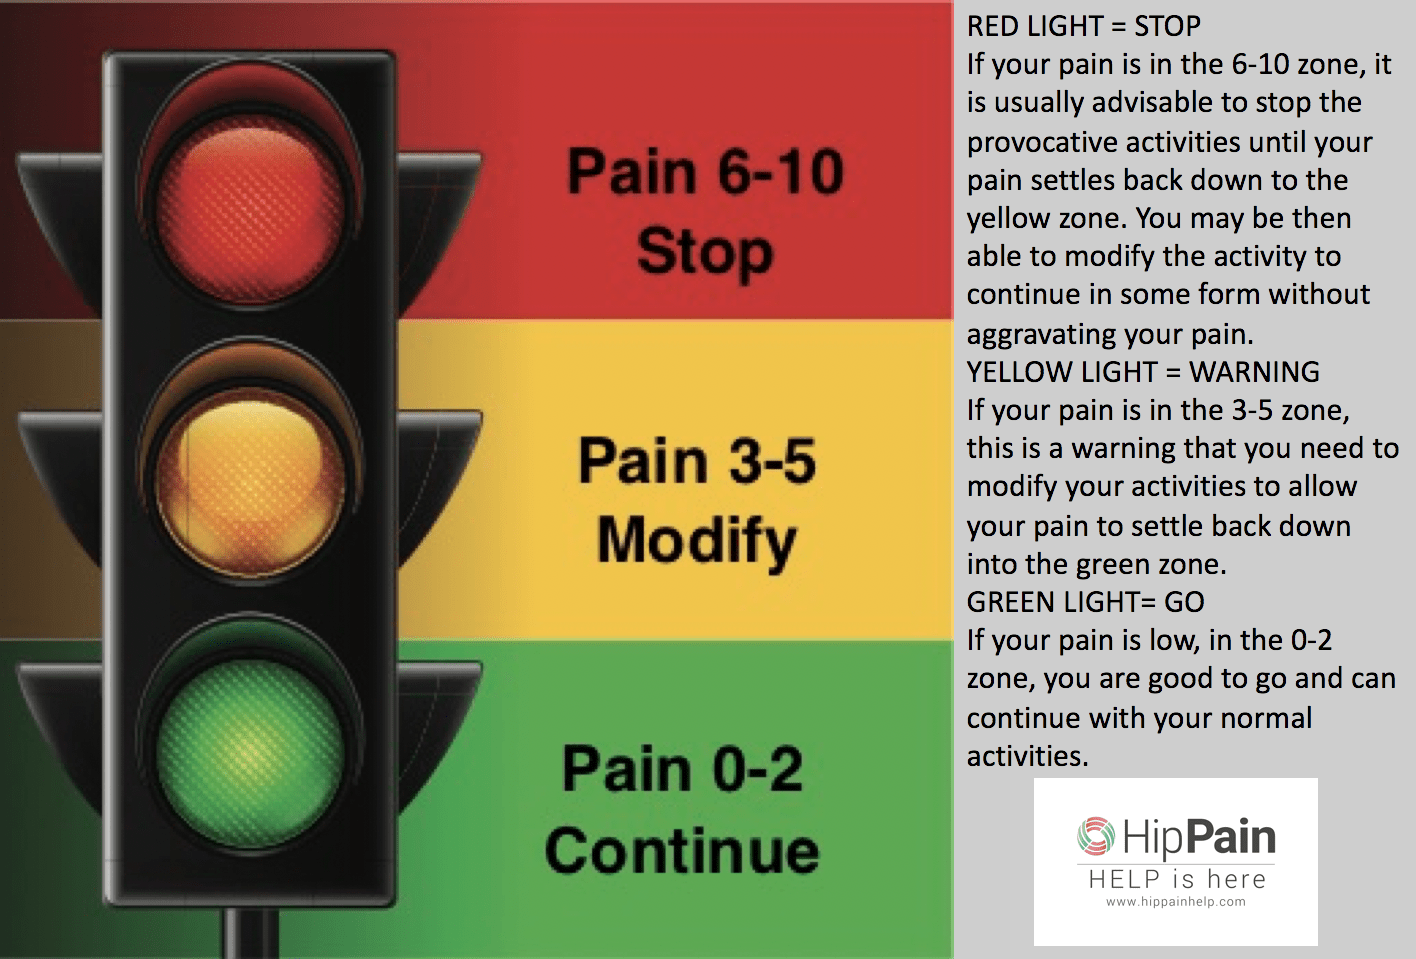
The aim is to continue to exercise but without aggravating your symptoms too much. Rate your pain during or after an activity on a scale from 0 – 10, where zero means that you did not have any pain and ten means that you had the worst pain imaginable. A traffic light approach can provide a simple, general guide for managing activity-related hip and pelvic pain.
- GREEN LIGHT= GO If your pain is low, in the 0-2 zone, you are good to go and can continue with your normal activities.
- YELLOW LIGHT = WARNINGIf your pain is in the 3-5 zone, this is a warning that you need to modify your activities to allow your pain to settle back down into the green zone.
- RED LIGHT = STOPIf your pain is in the 6-10 zone, it is usually advisable to stop the provocative activities until your pain settles back down to the yellow zone. You may be then able to modify the activity to continue in some form without aggravating your pain.
How to Use the Traffic Light Approach
This traffic light approach has been used successfully with athletes with groin pain¹, but it is also a useful tool for anyone experiencing hip, groin or pelvic pain related to activity.
As with real traffic lights, the easiest 2 things are to STOP and GO and the meaning is clear, which is probably why most people resort to either end of the scale for managing their pain.
Now that yellow traffic light, let’s face it, sometimes it can be tricky to know whether you should stop or go. So, let’s talk a little more about modifying your activities. Health professionals refer to this as “load management” – managing the amount of load you place on your body, and therefore the potential for overload and pain.
In the previous blog, we discussed some key strategies for modifying your walking or running to avoid overload around the hips and pelvis. As part of a load management strategy, your Hip Pain Professional may give you tips on “how to perform an activity”, as well as strategies that are targeted at modifying how much or how often you perform an activity.